How to Connect Your Domain to Cloudflare
Follow these steps to route your domain through Cloudflare by updating your nameservers.
Step 1: Set Up on Cloudflare
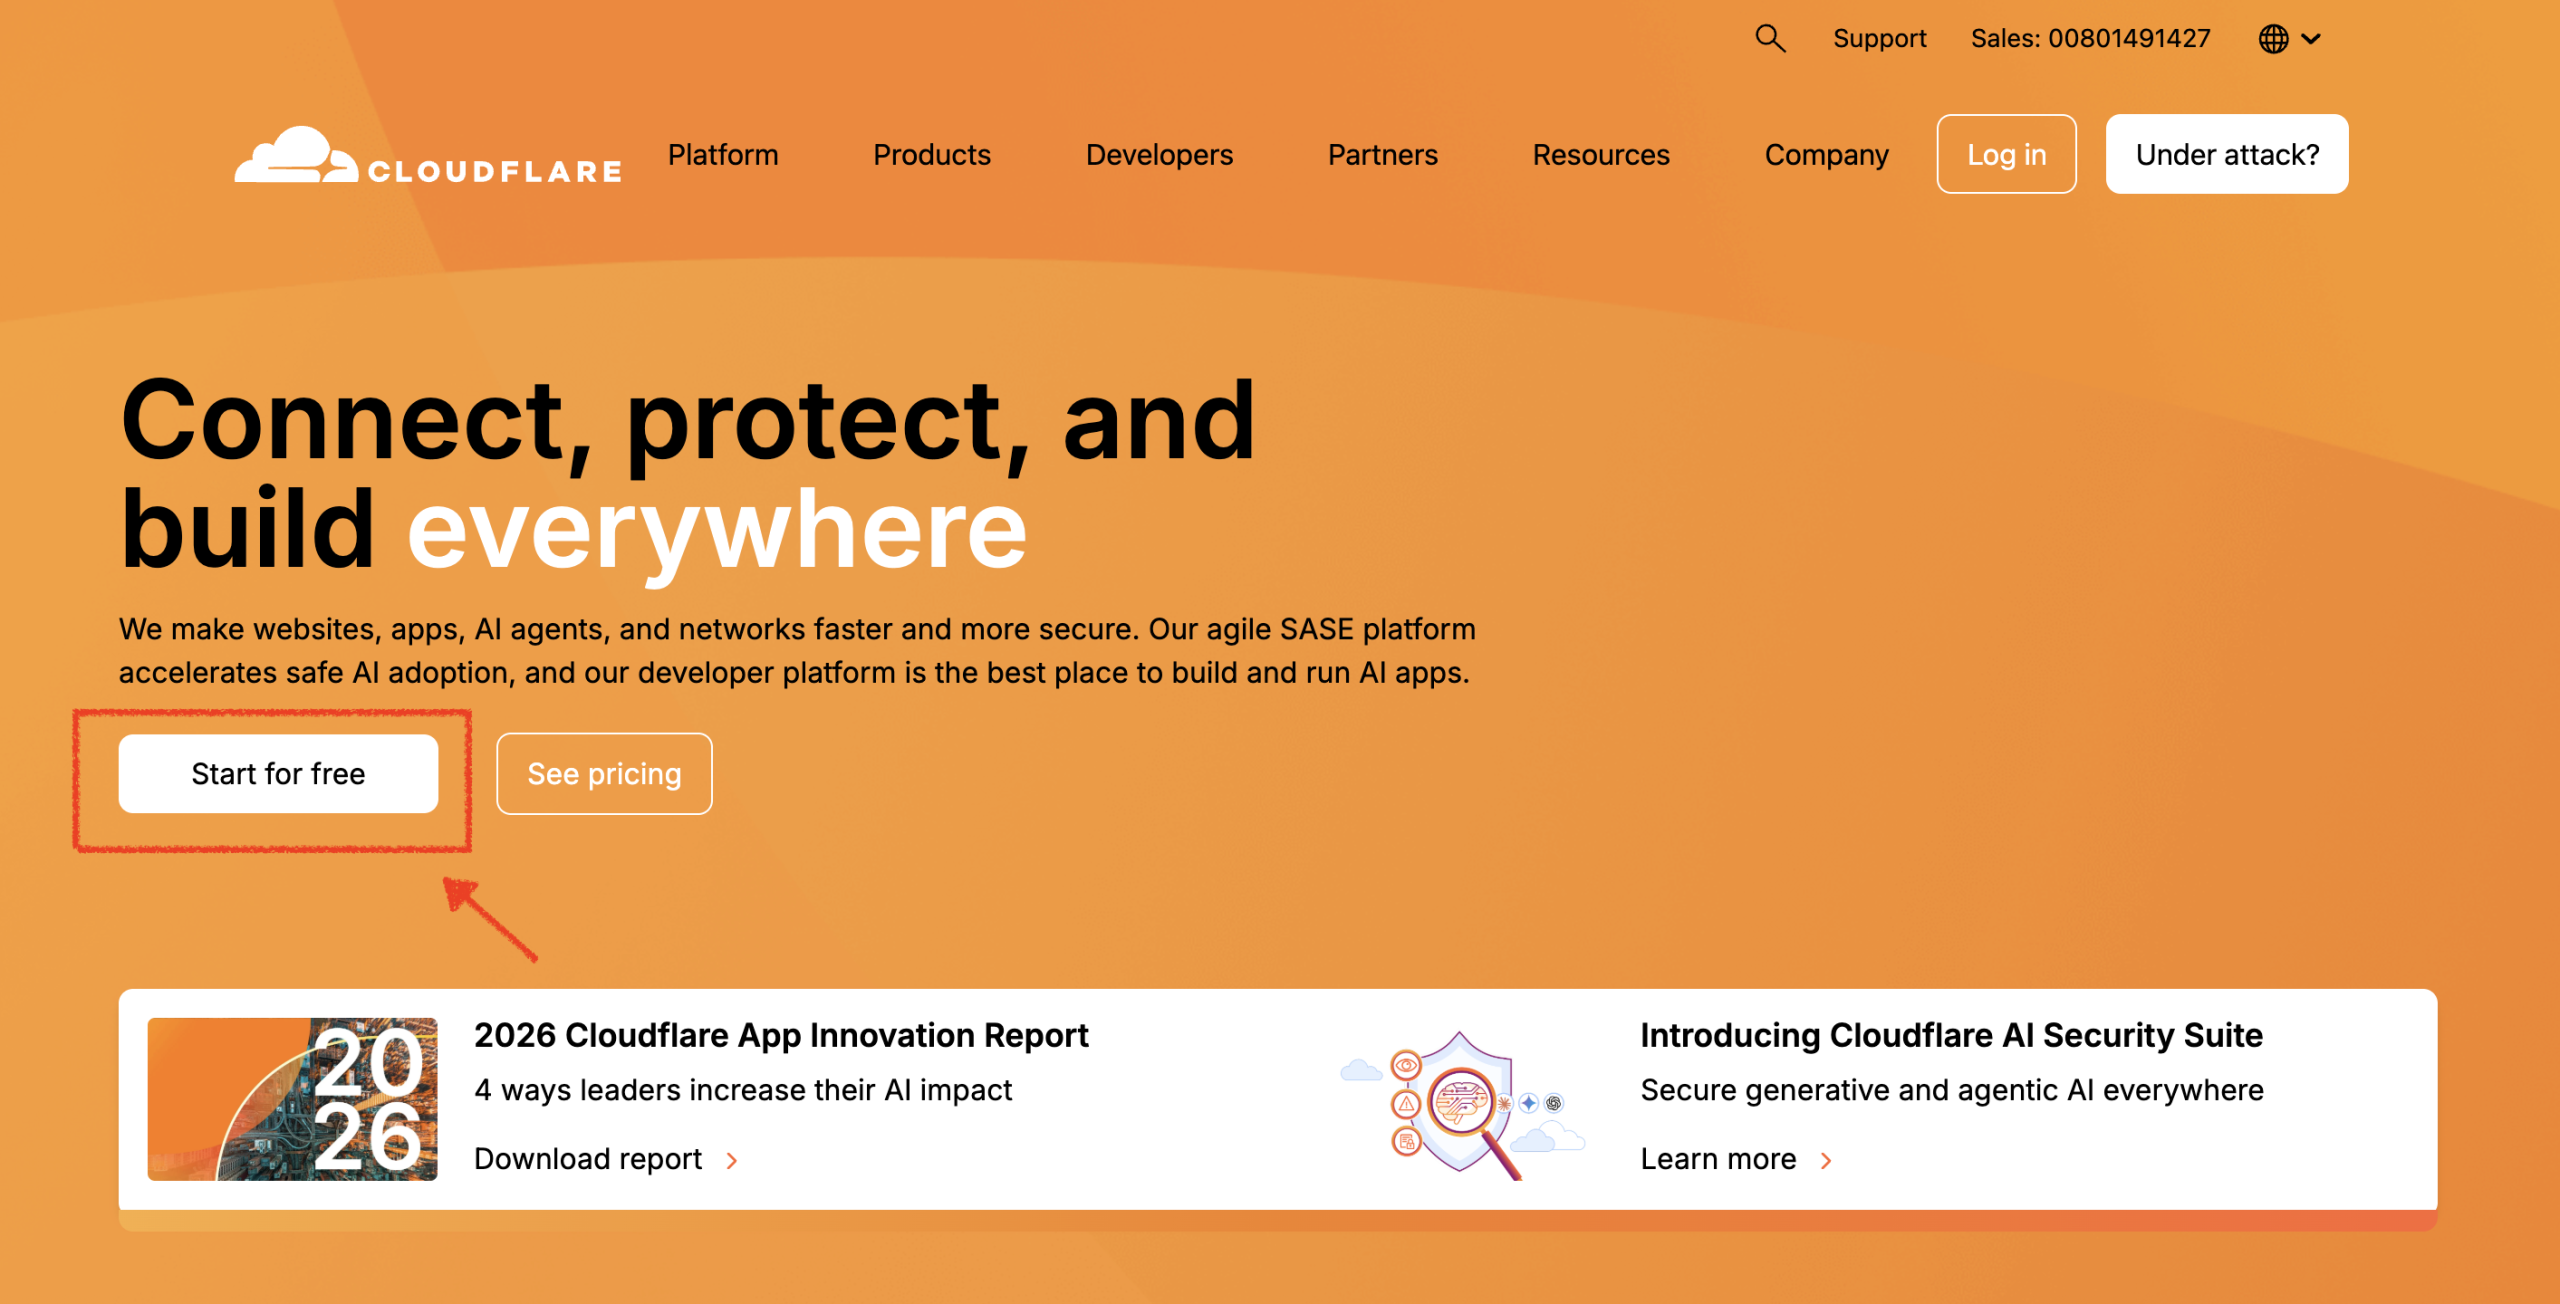
- Register/Login: Go to the Cloudflare website and click start for free.
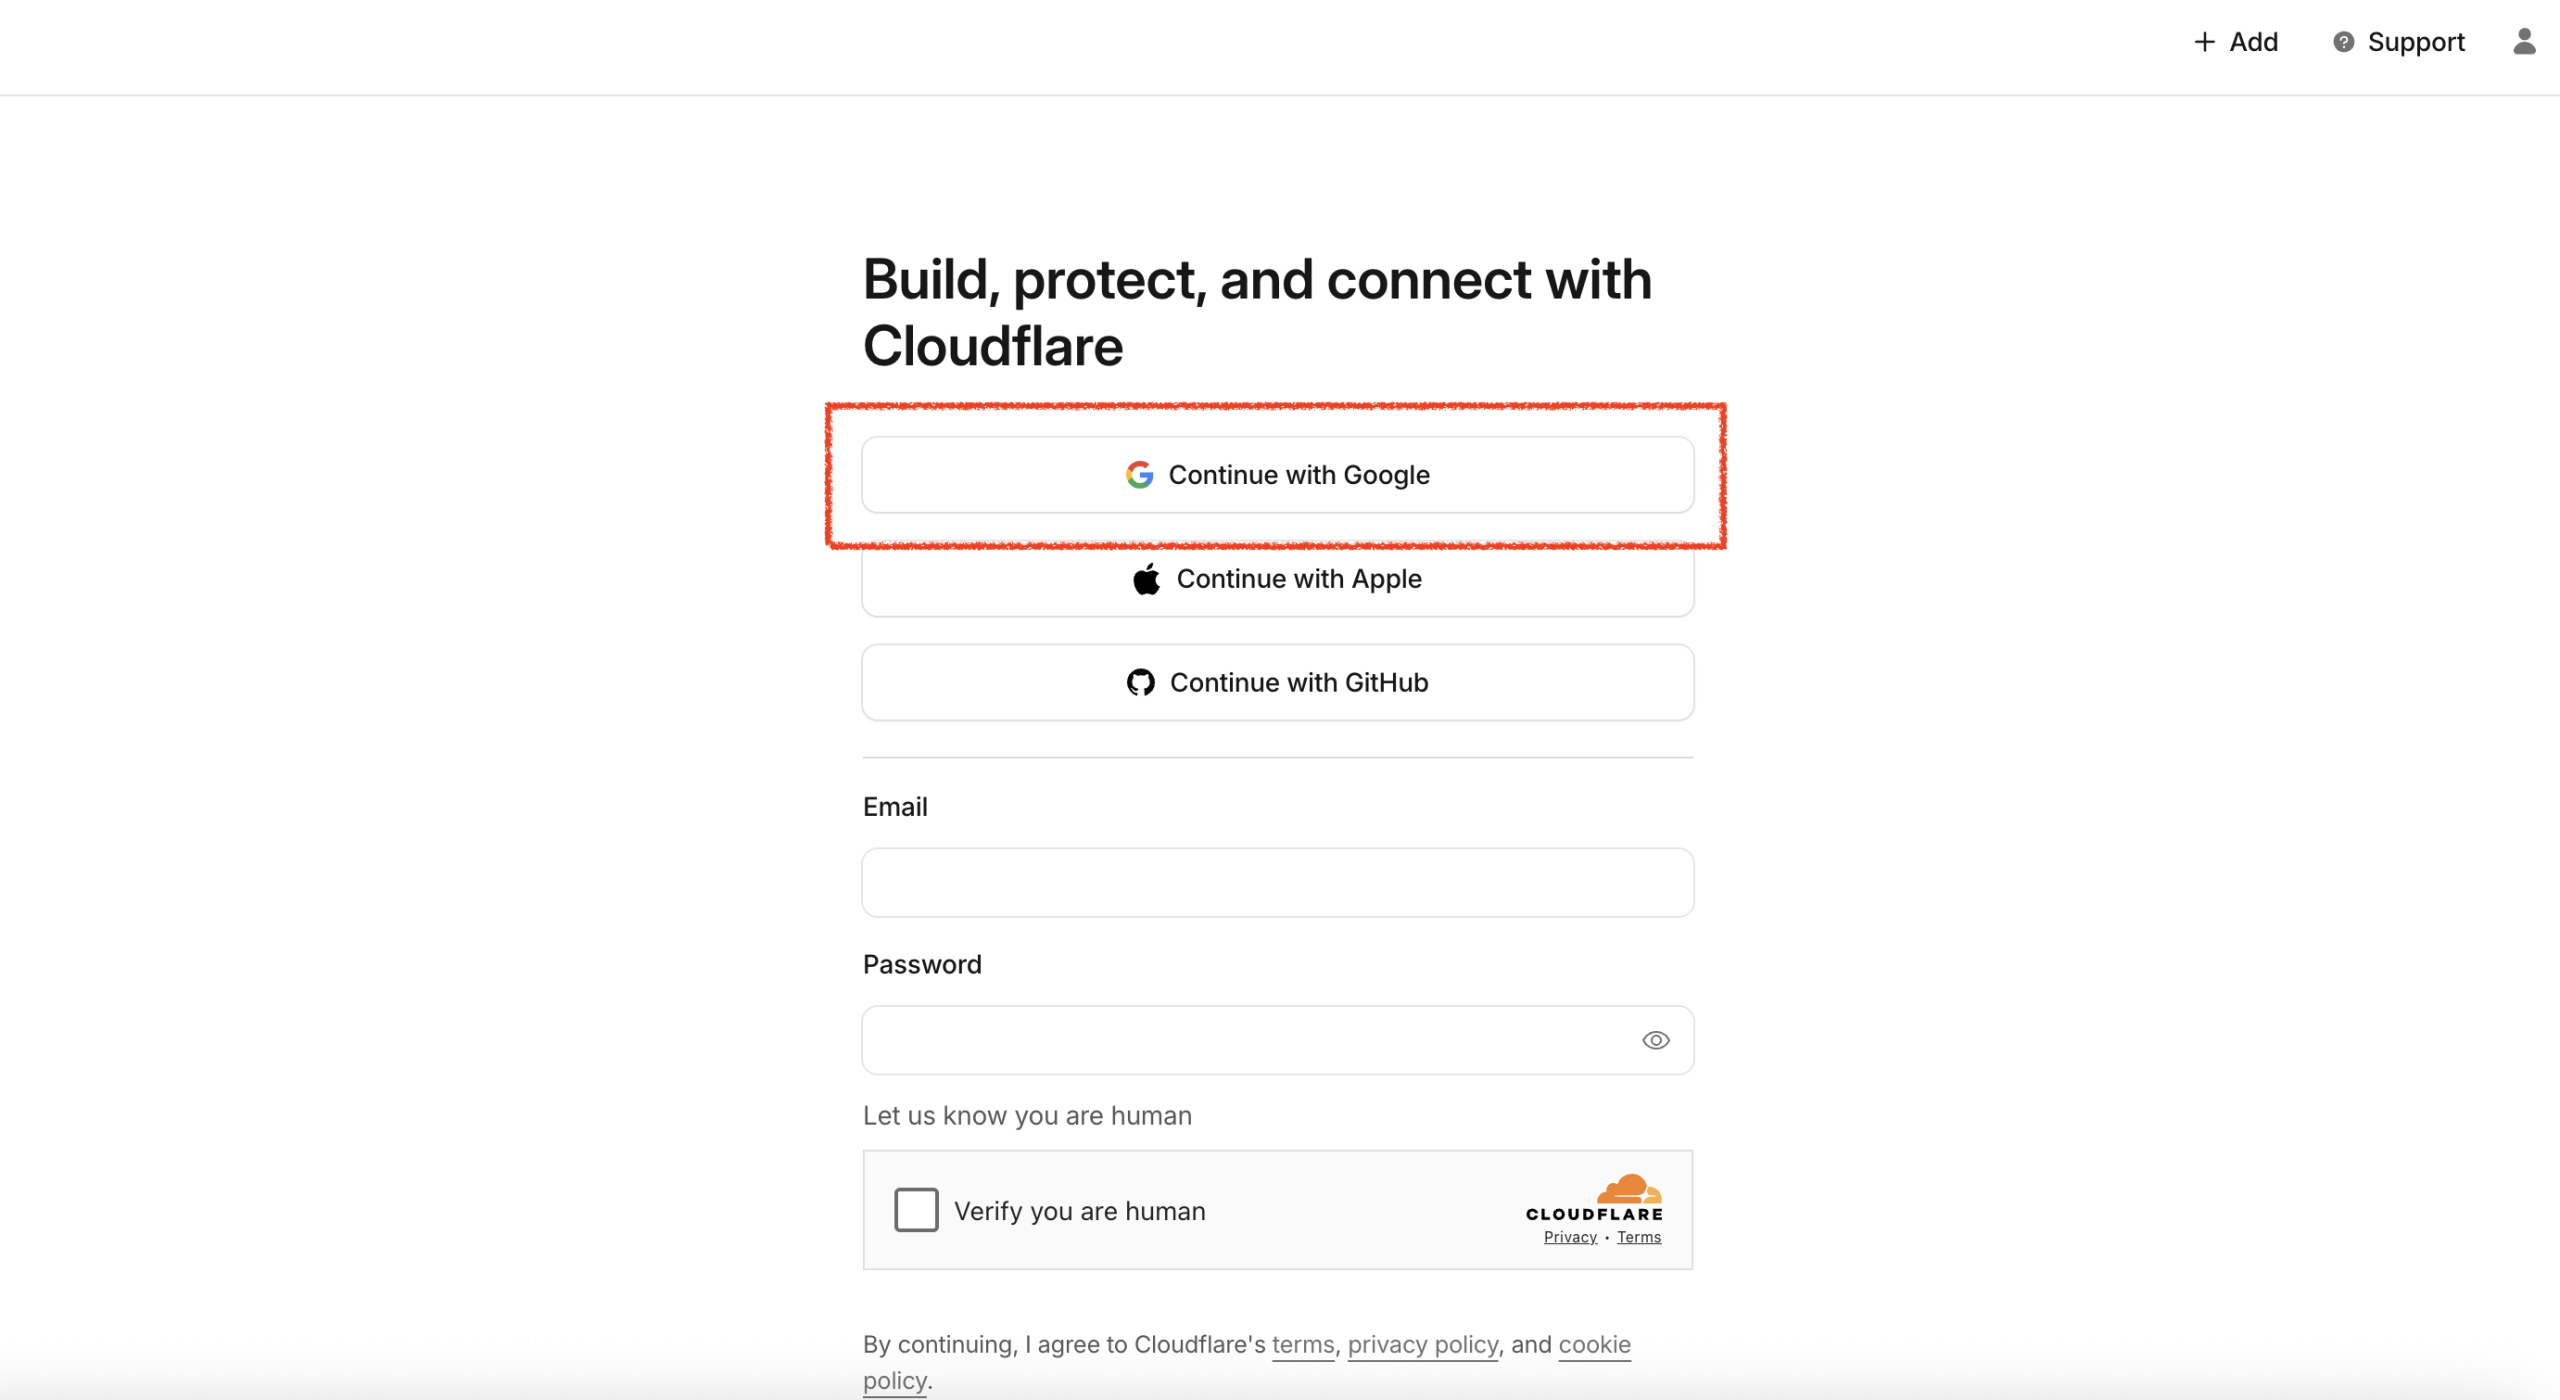
- Sign In: Select Continue with Google (or use your preferred email method) to log in.
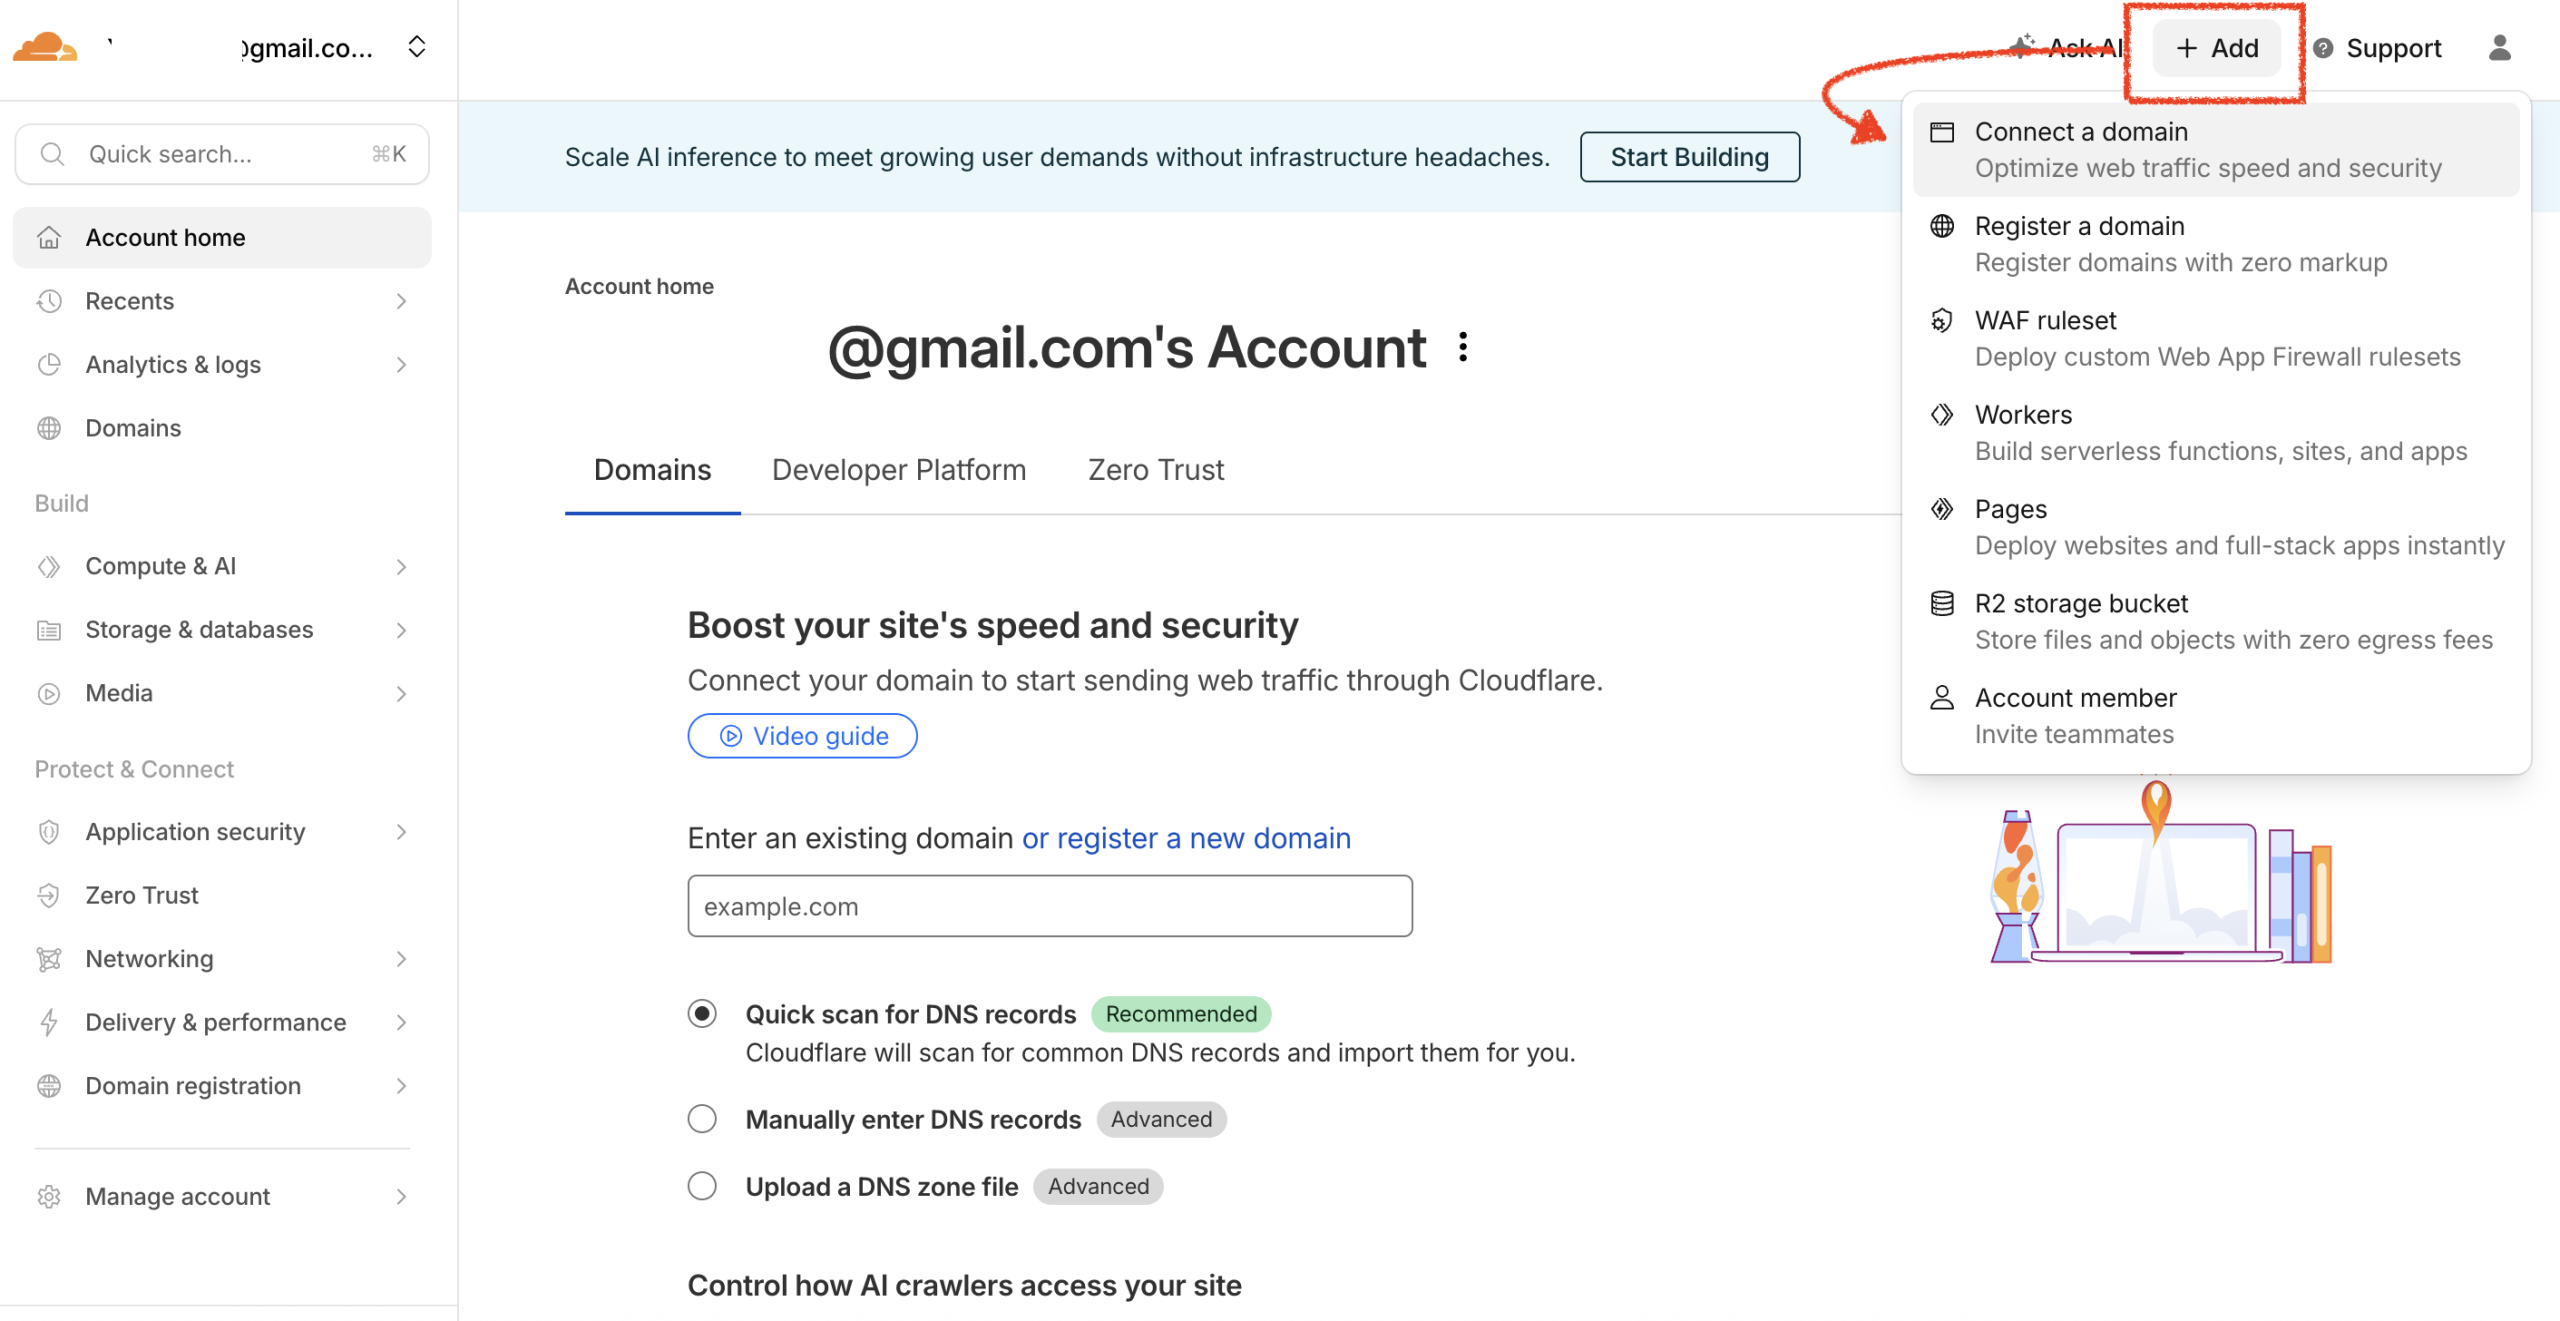
Add Site: Once on the dashboard home page, click Add in the top right corner, and select Connect a domain.
Enter Domain: Enter the domain name you wish to configure. Select Quick scan for DNS records (Cloudflare will automatically scan your DNS records), scroll down, and click Continue.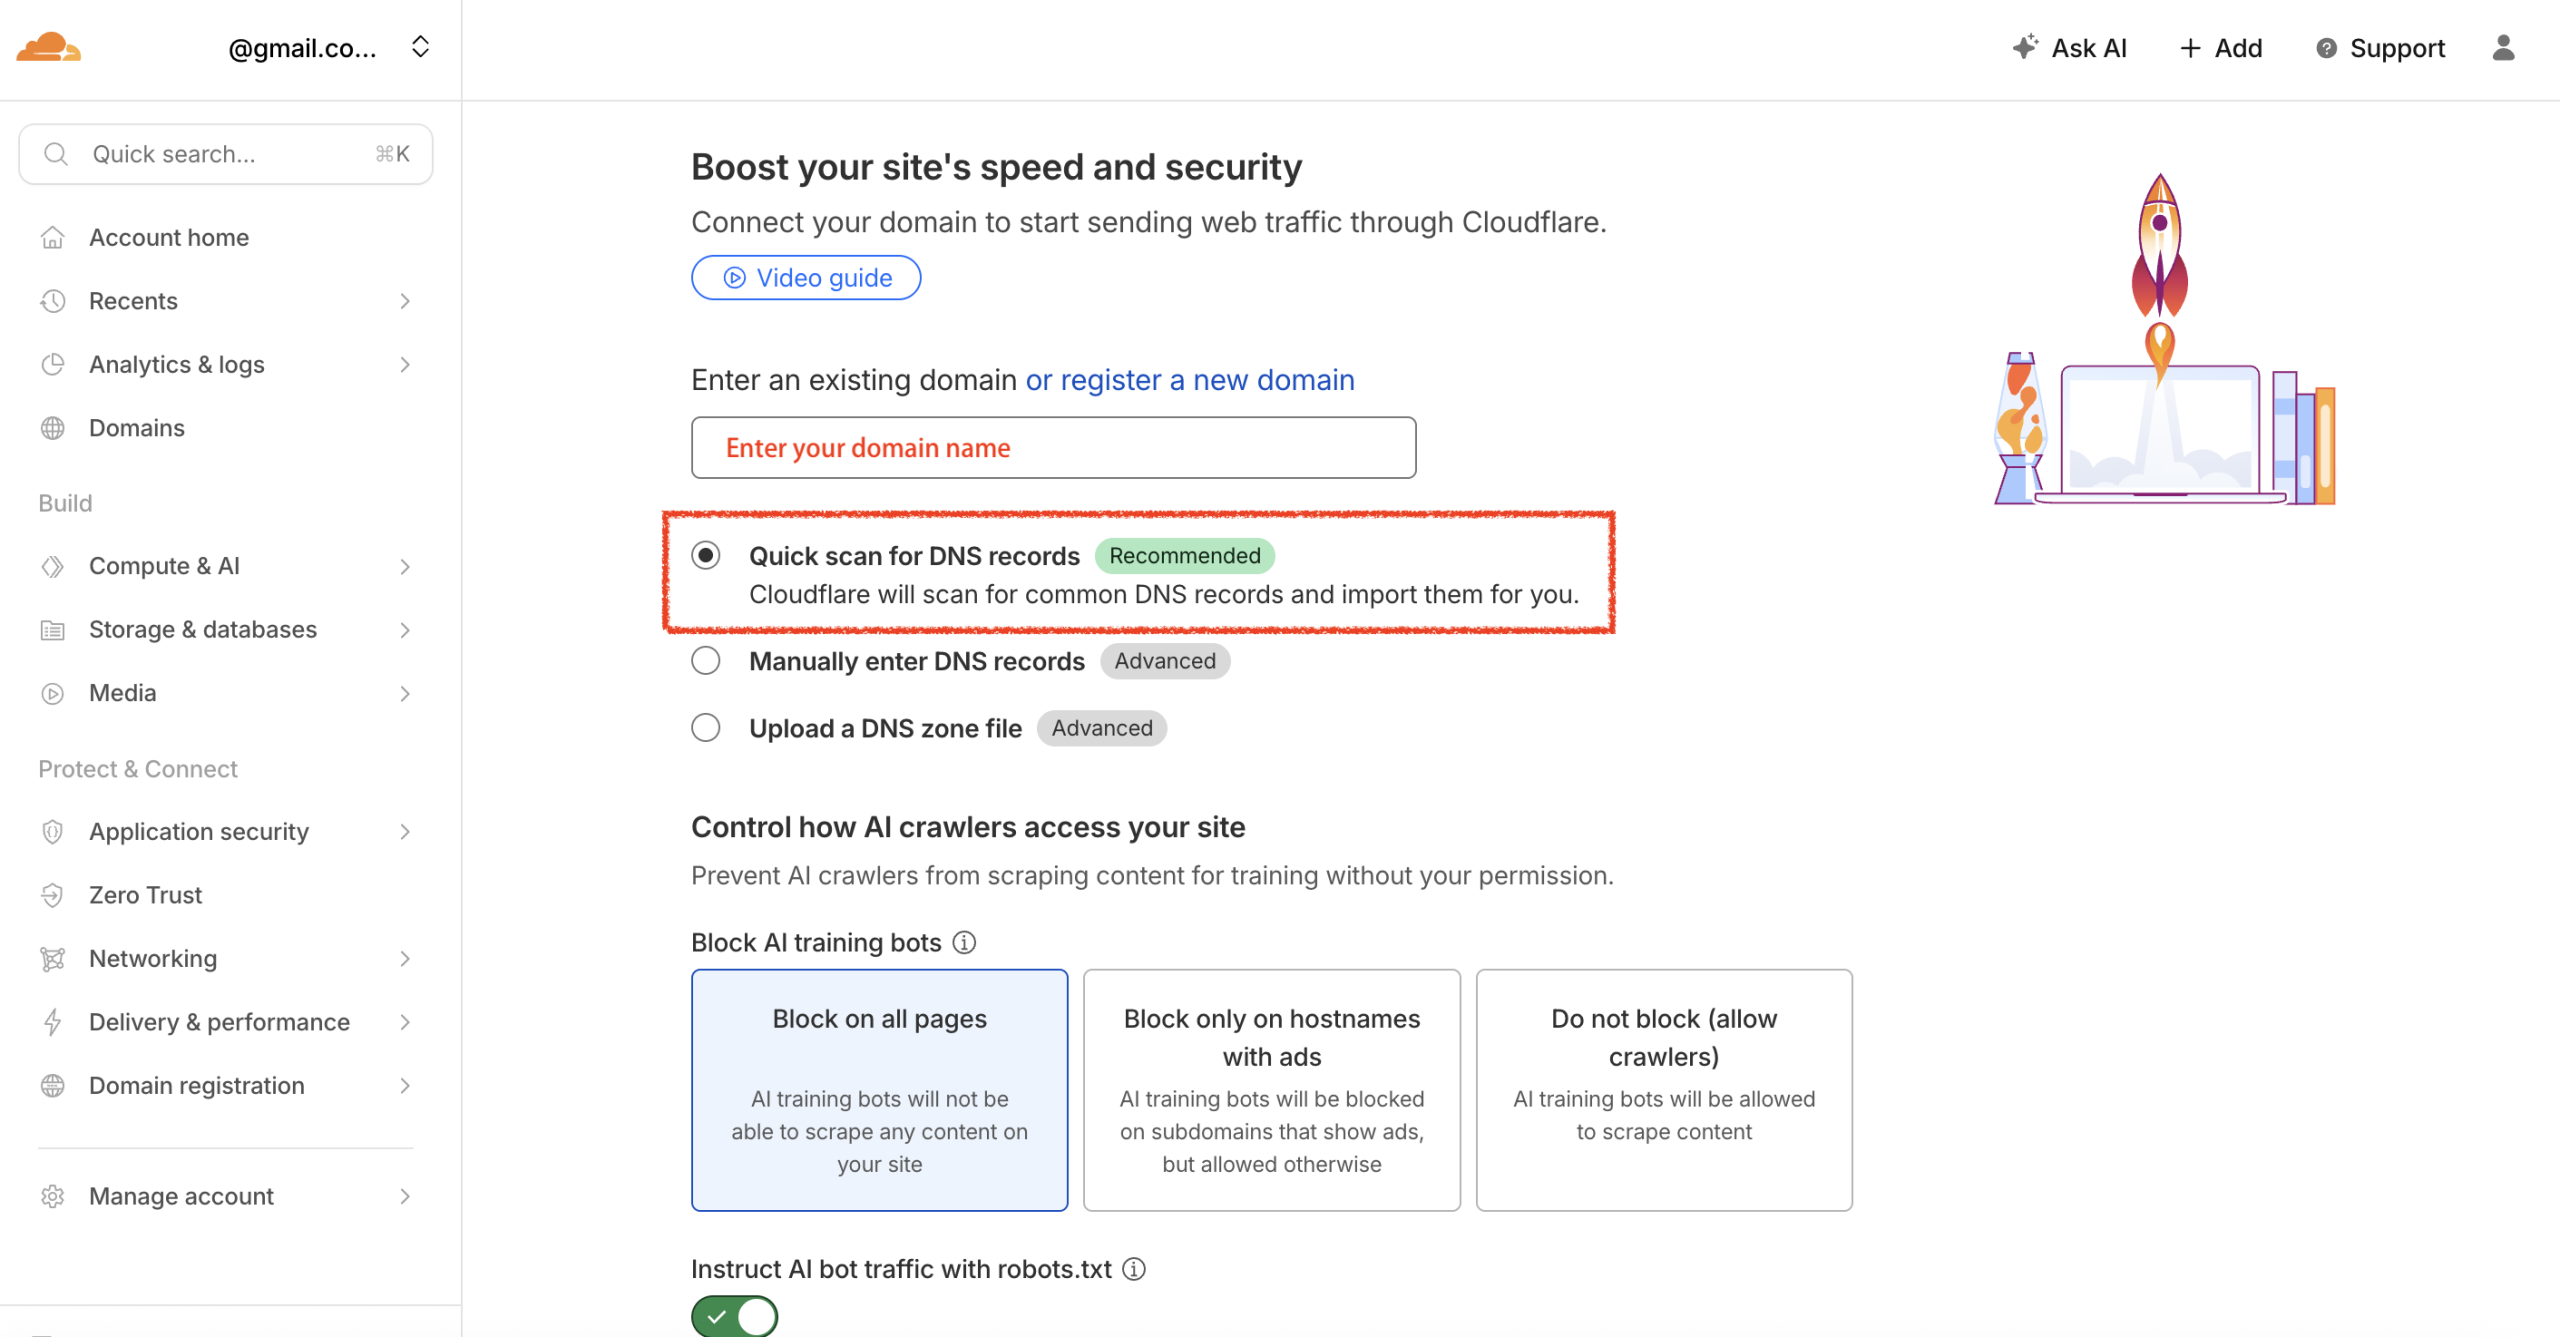
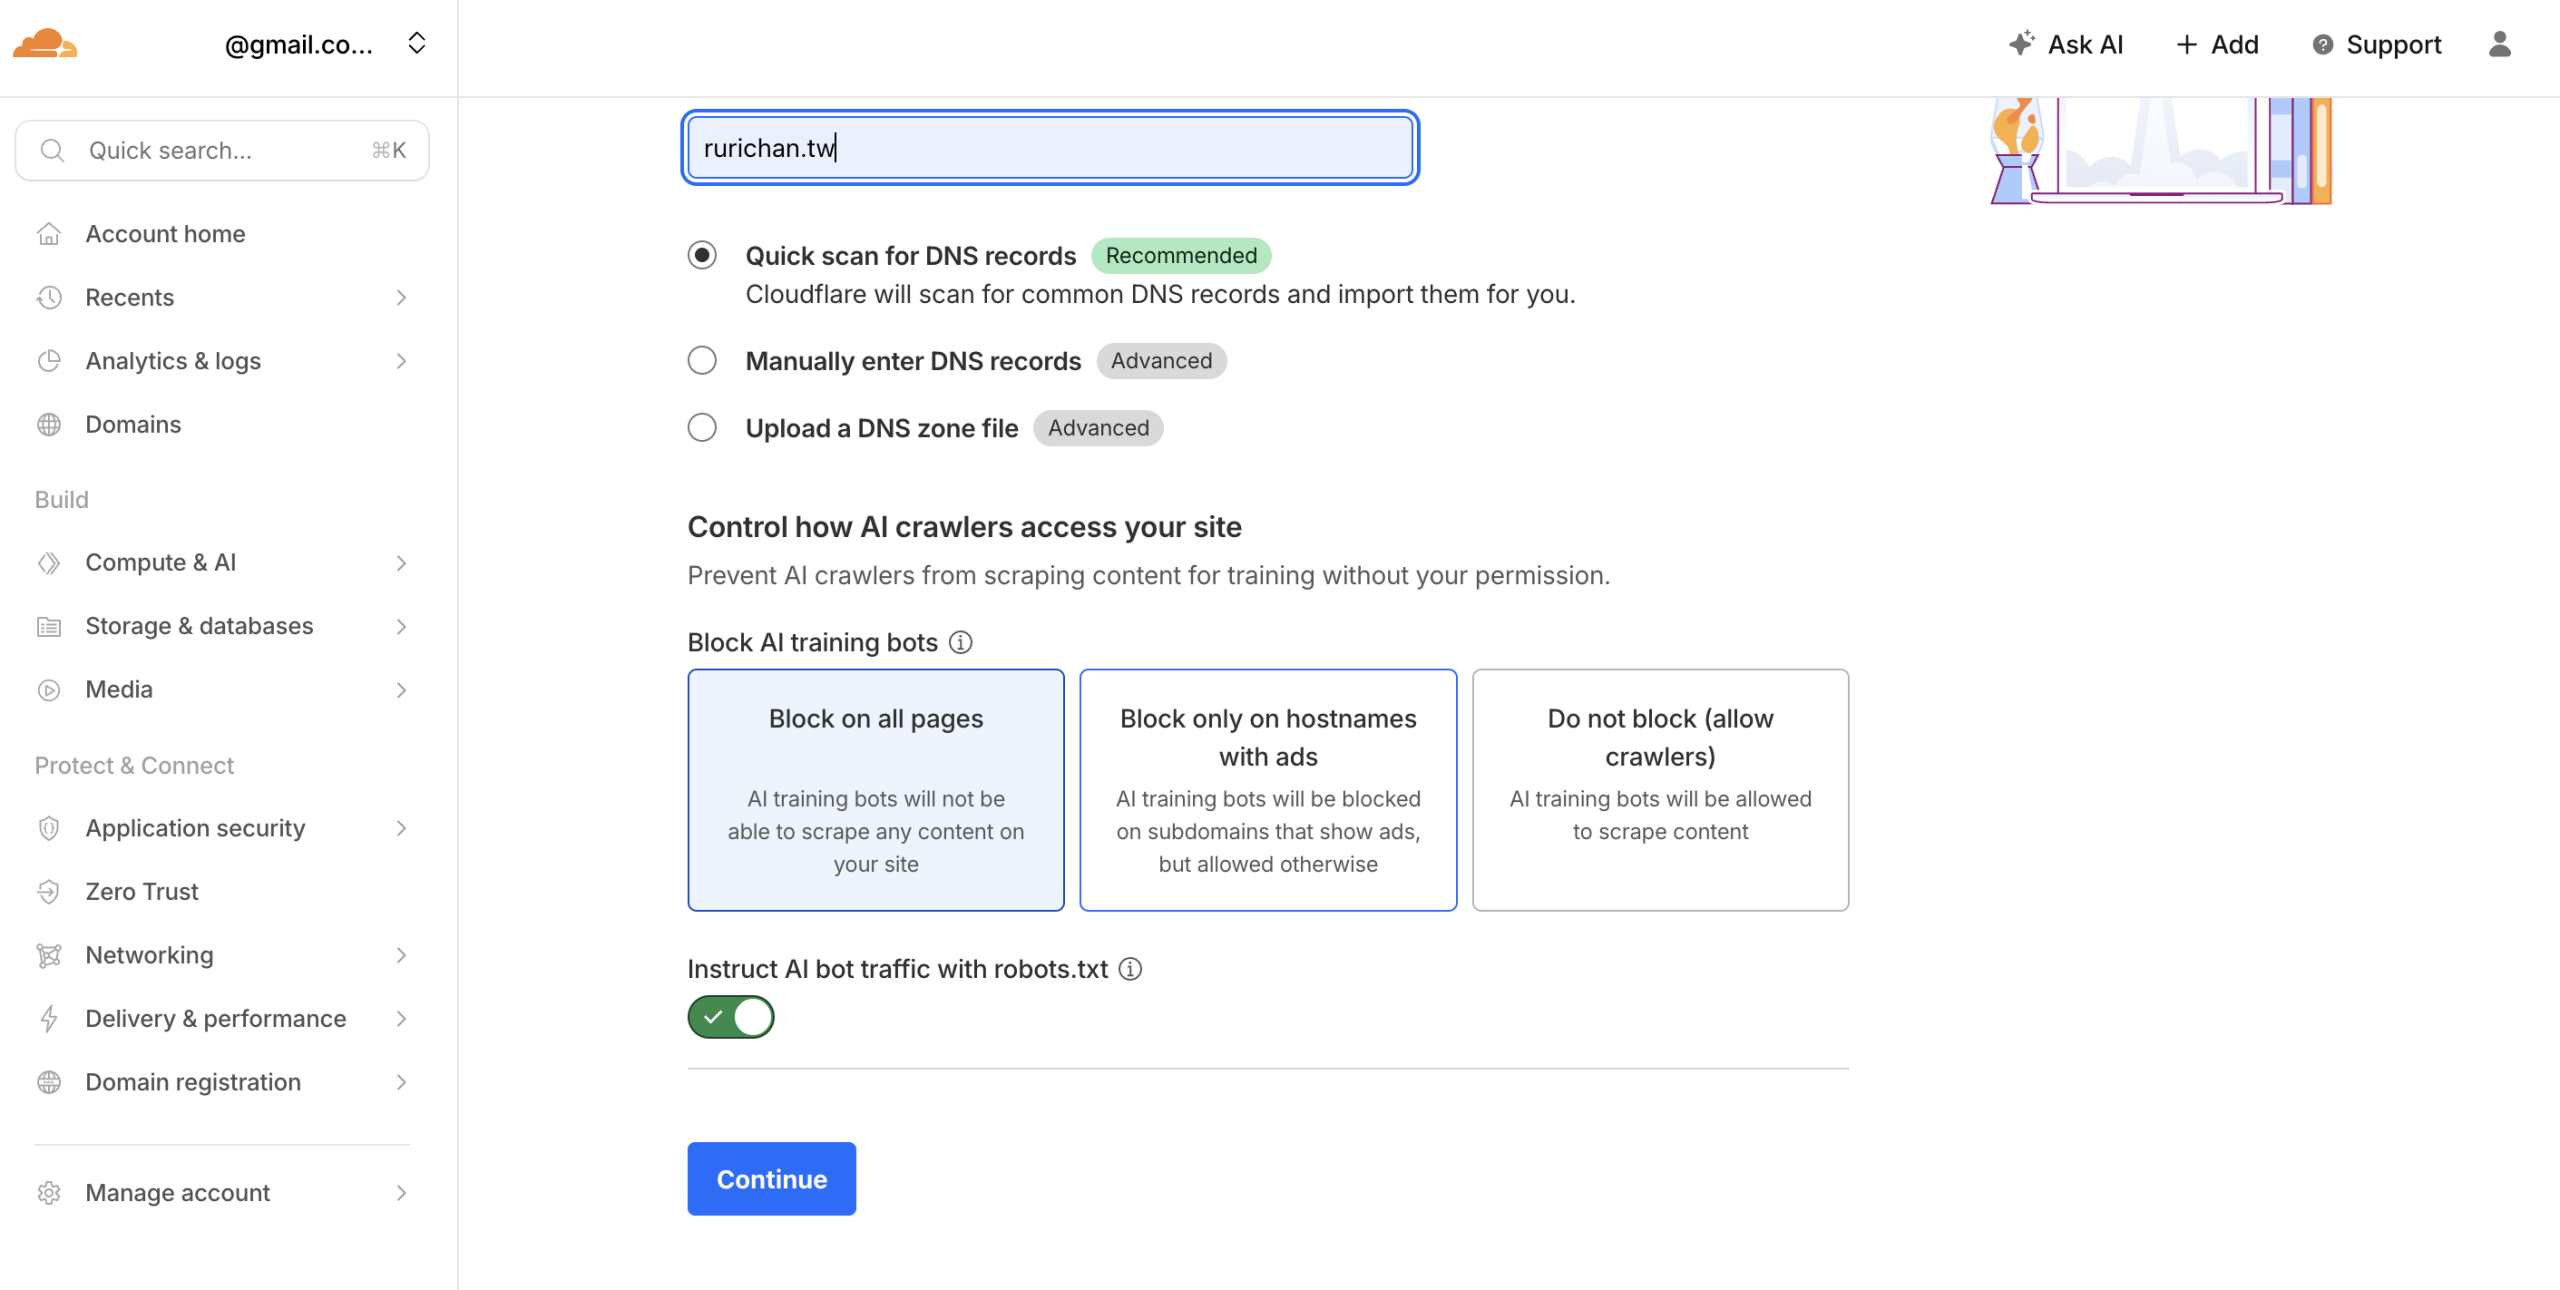
Select Plan: Choose the Free plan.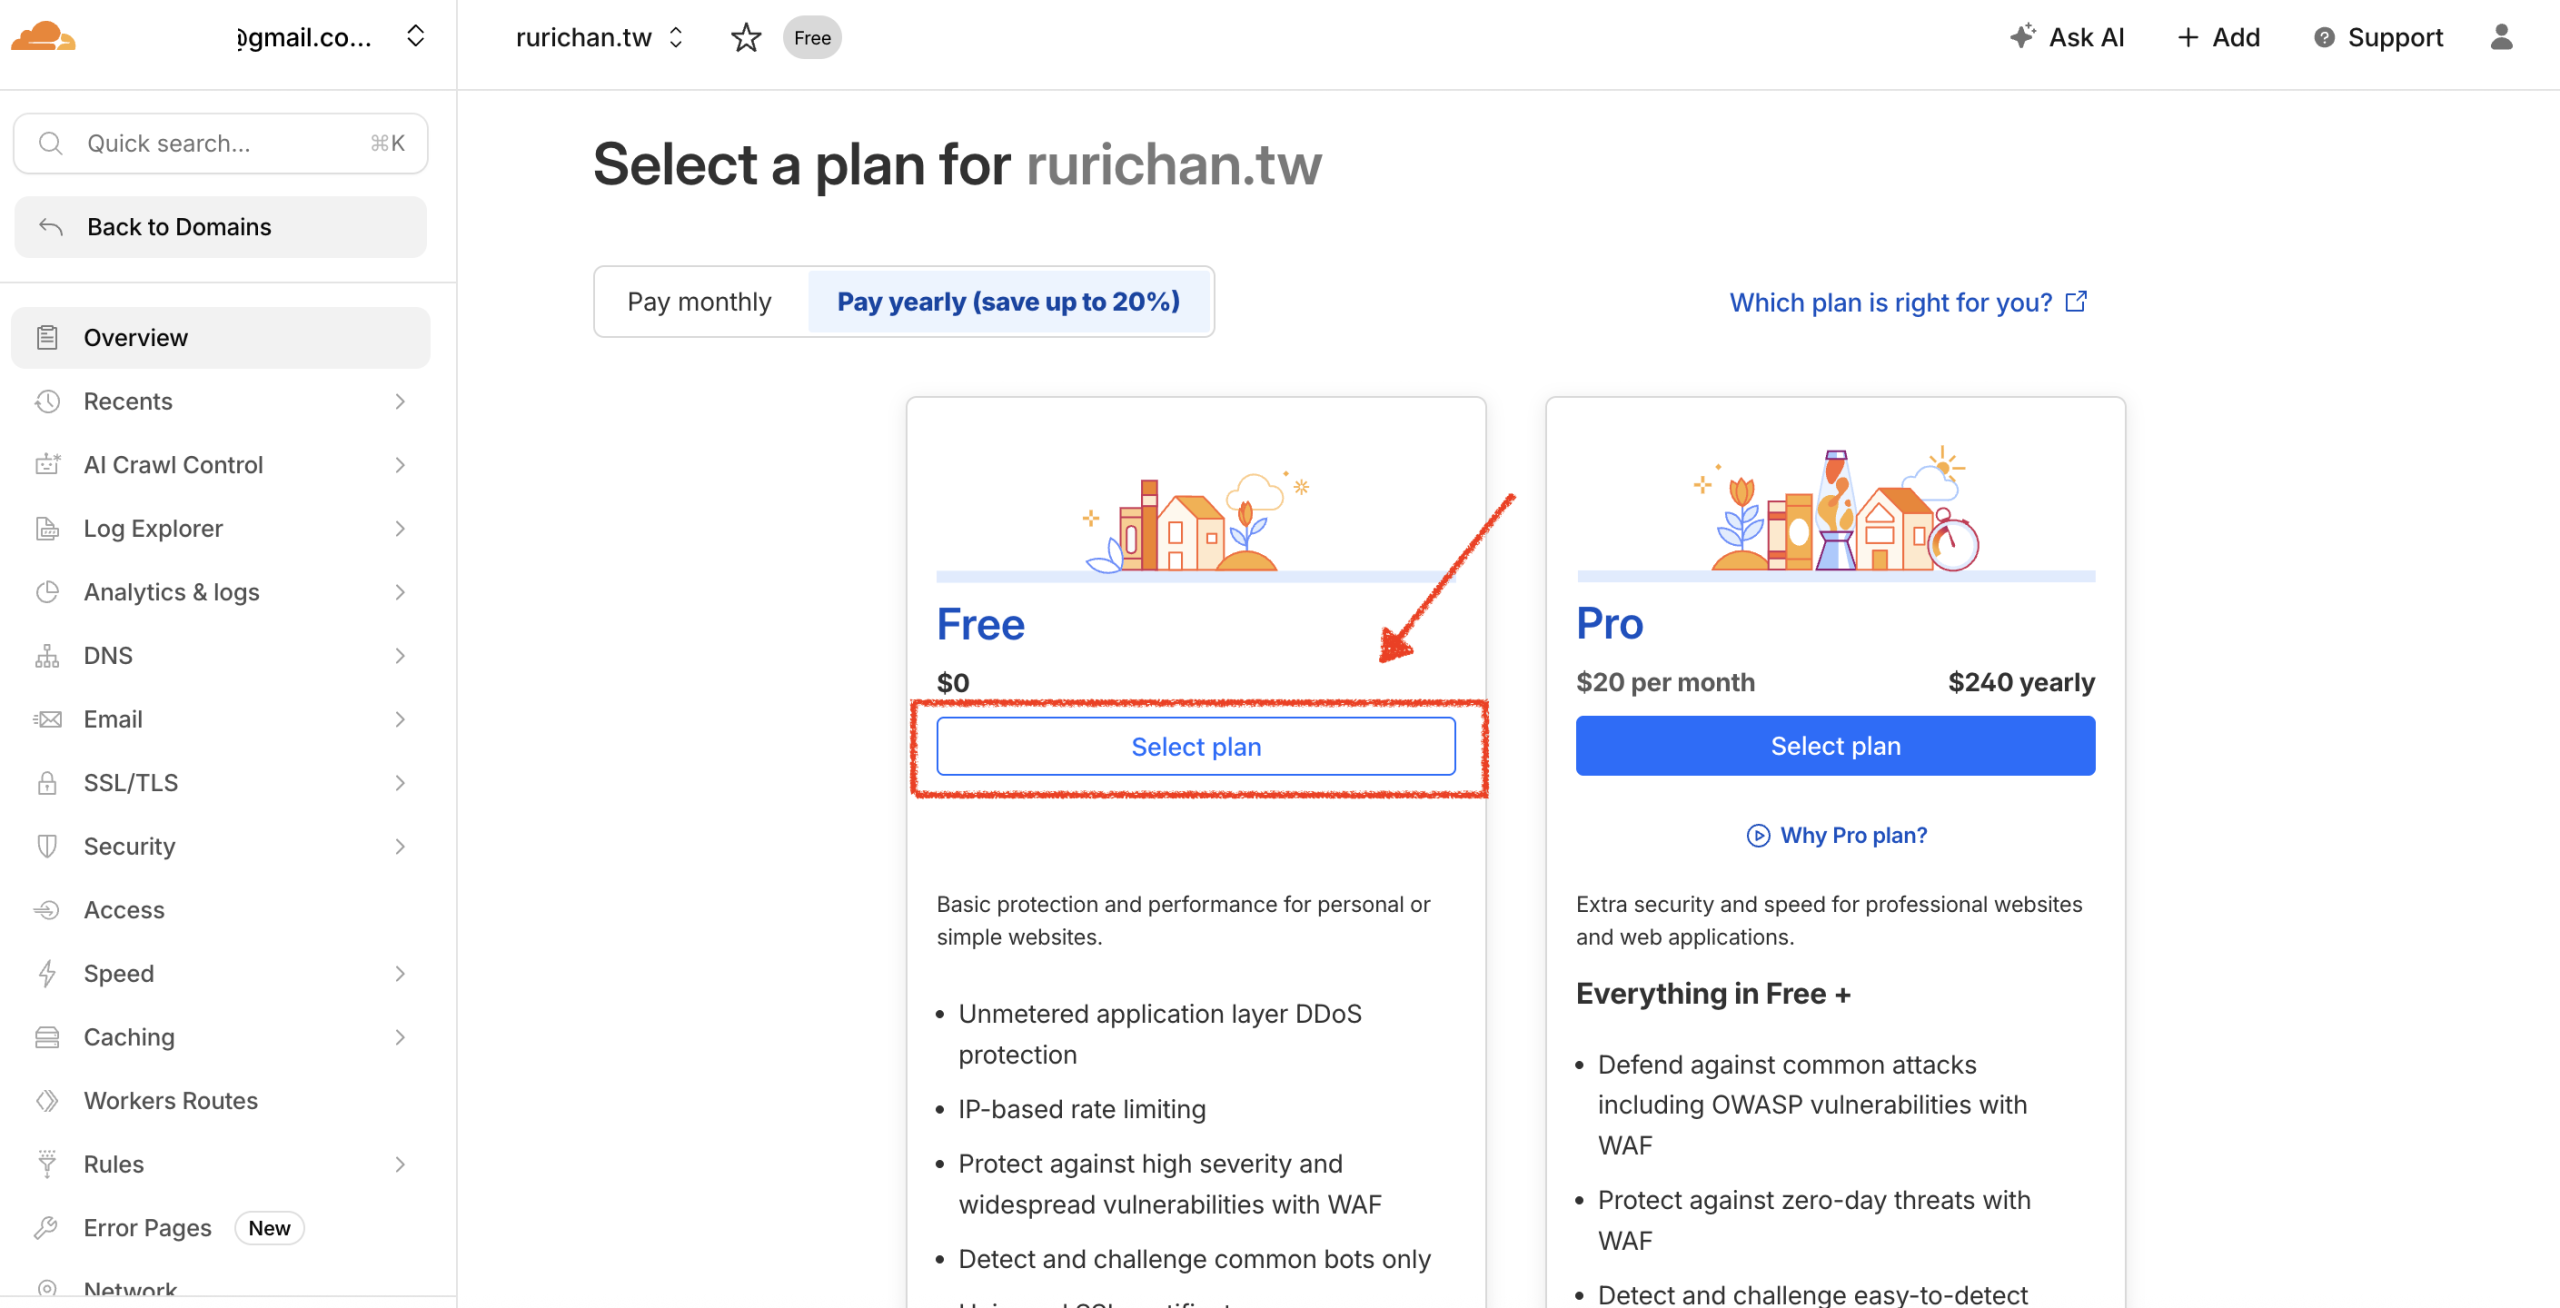
Confirm: Scroll down and click Continue to activation.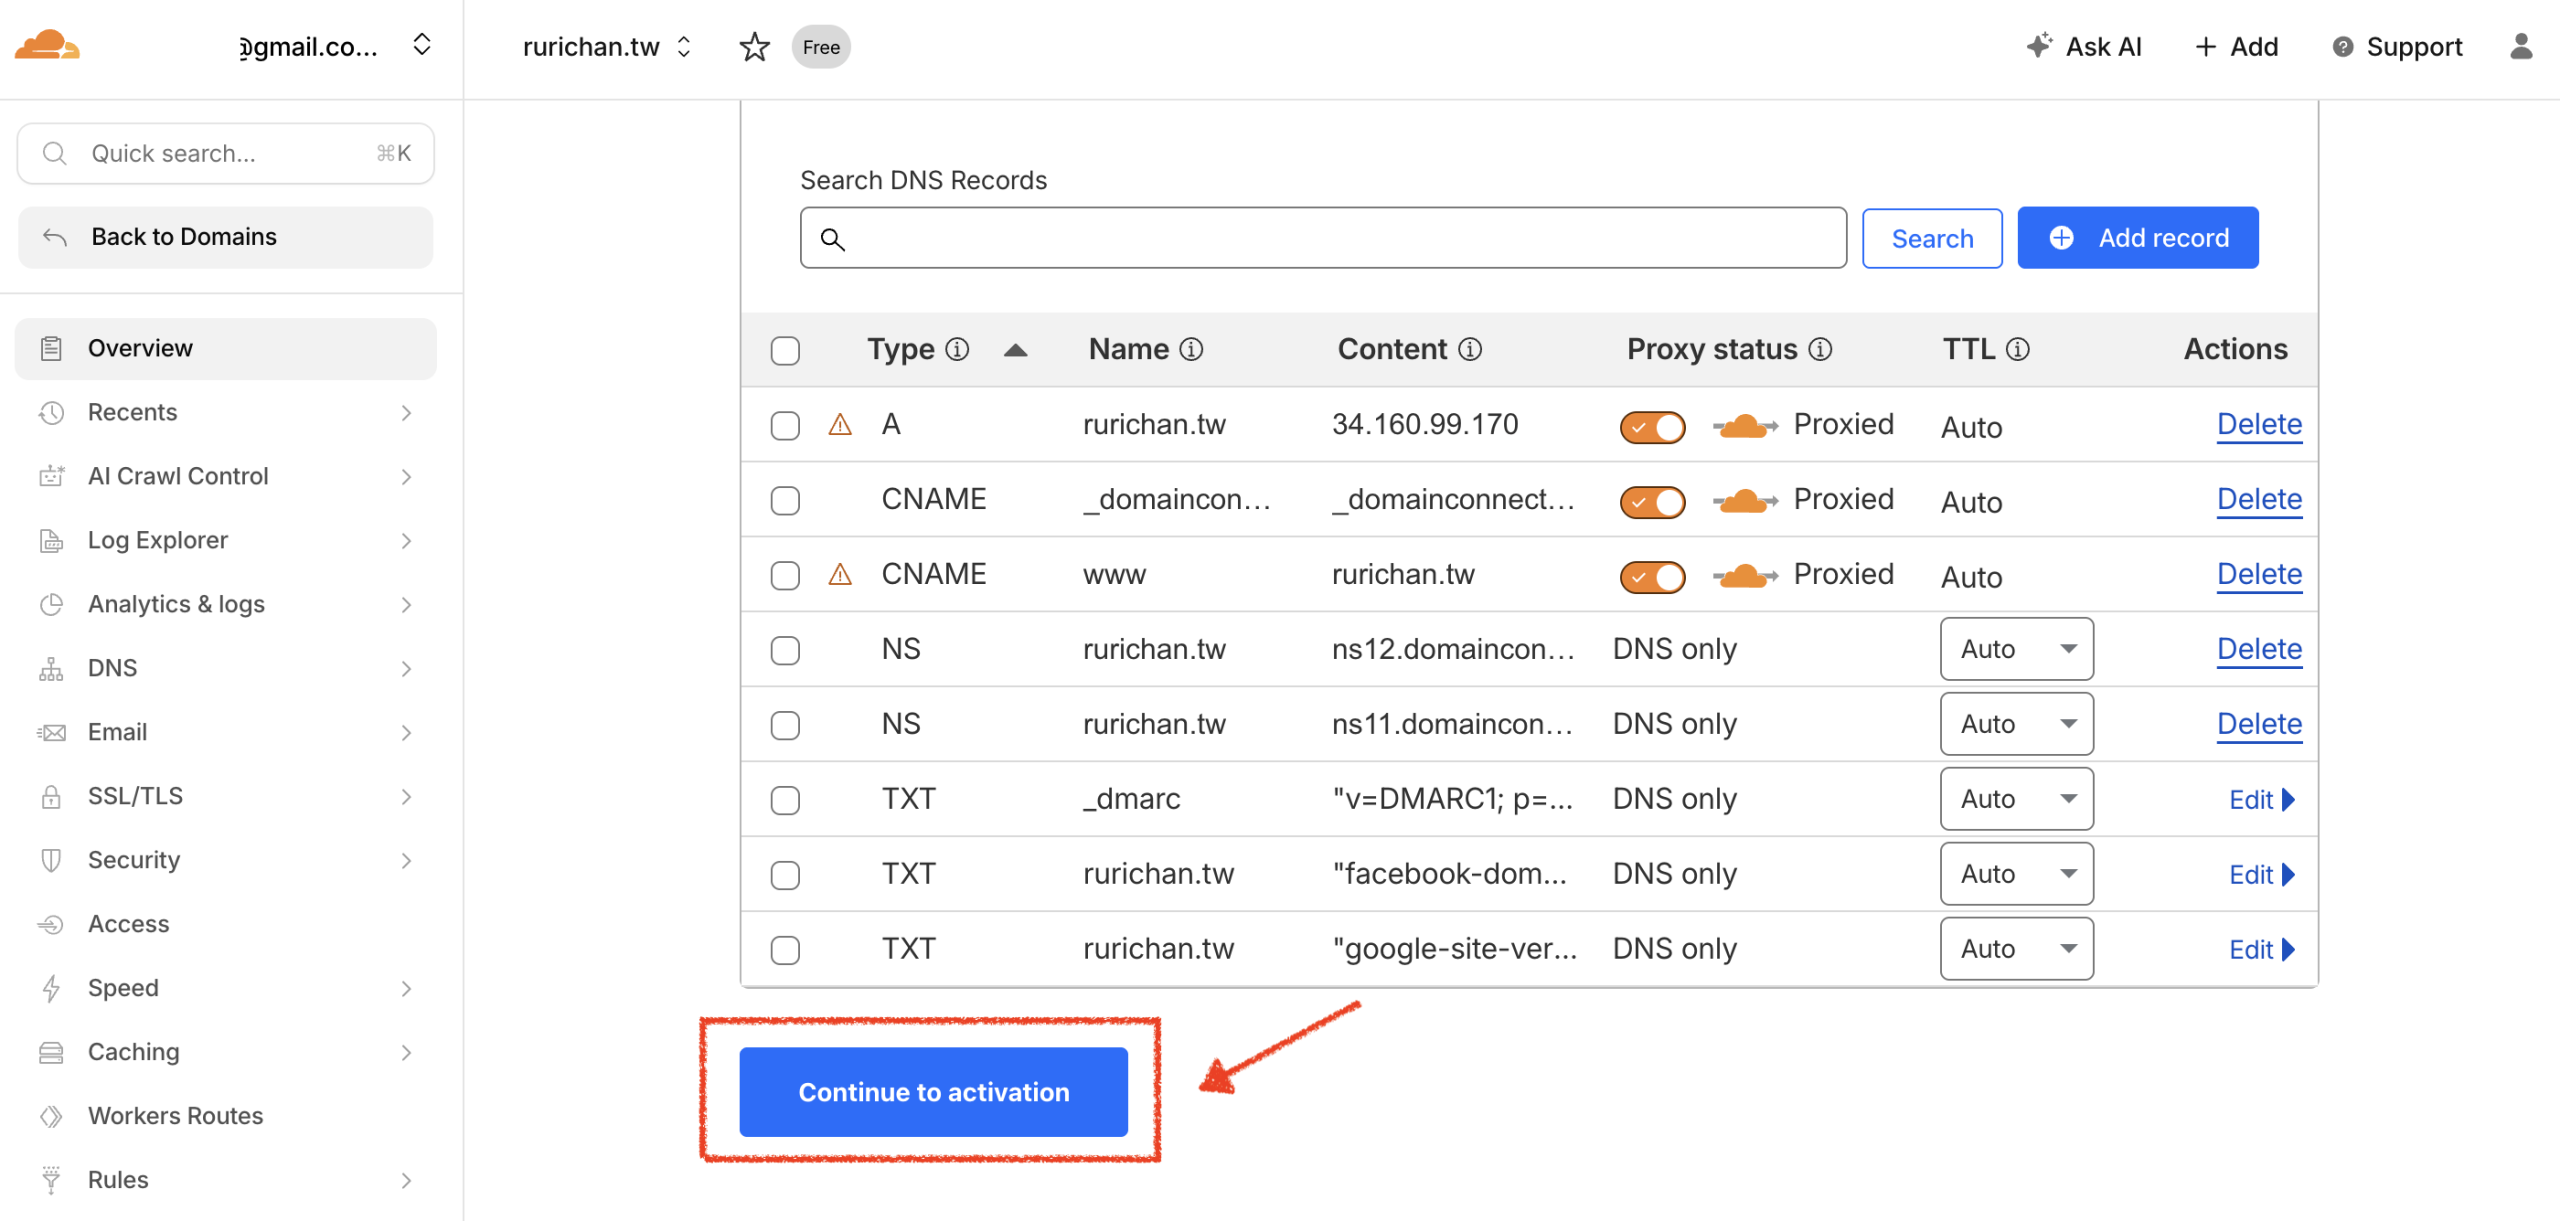
Copy Nameservers: Cloudflare will provide two Nameservers. Scroll down and copy these addresses (e.g., bob.ns.cloudflare.com).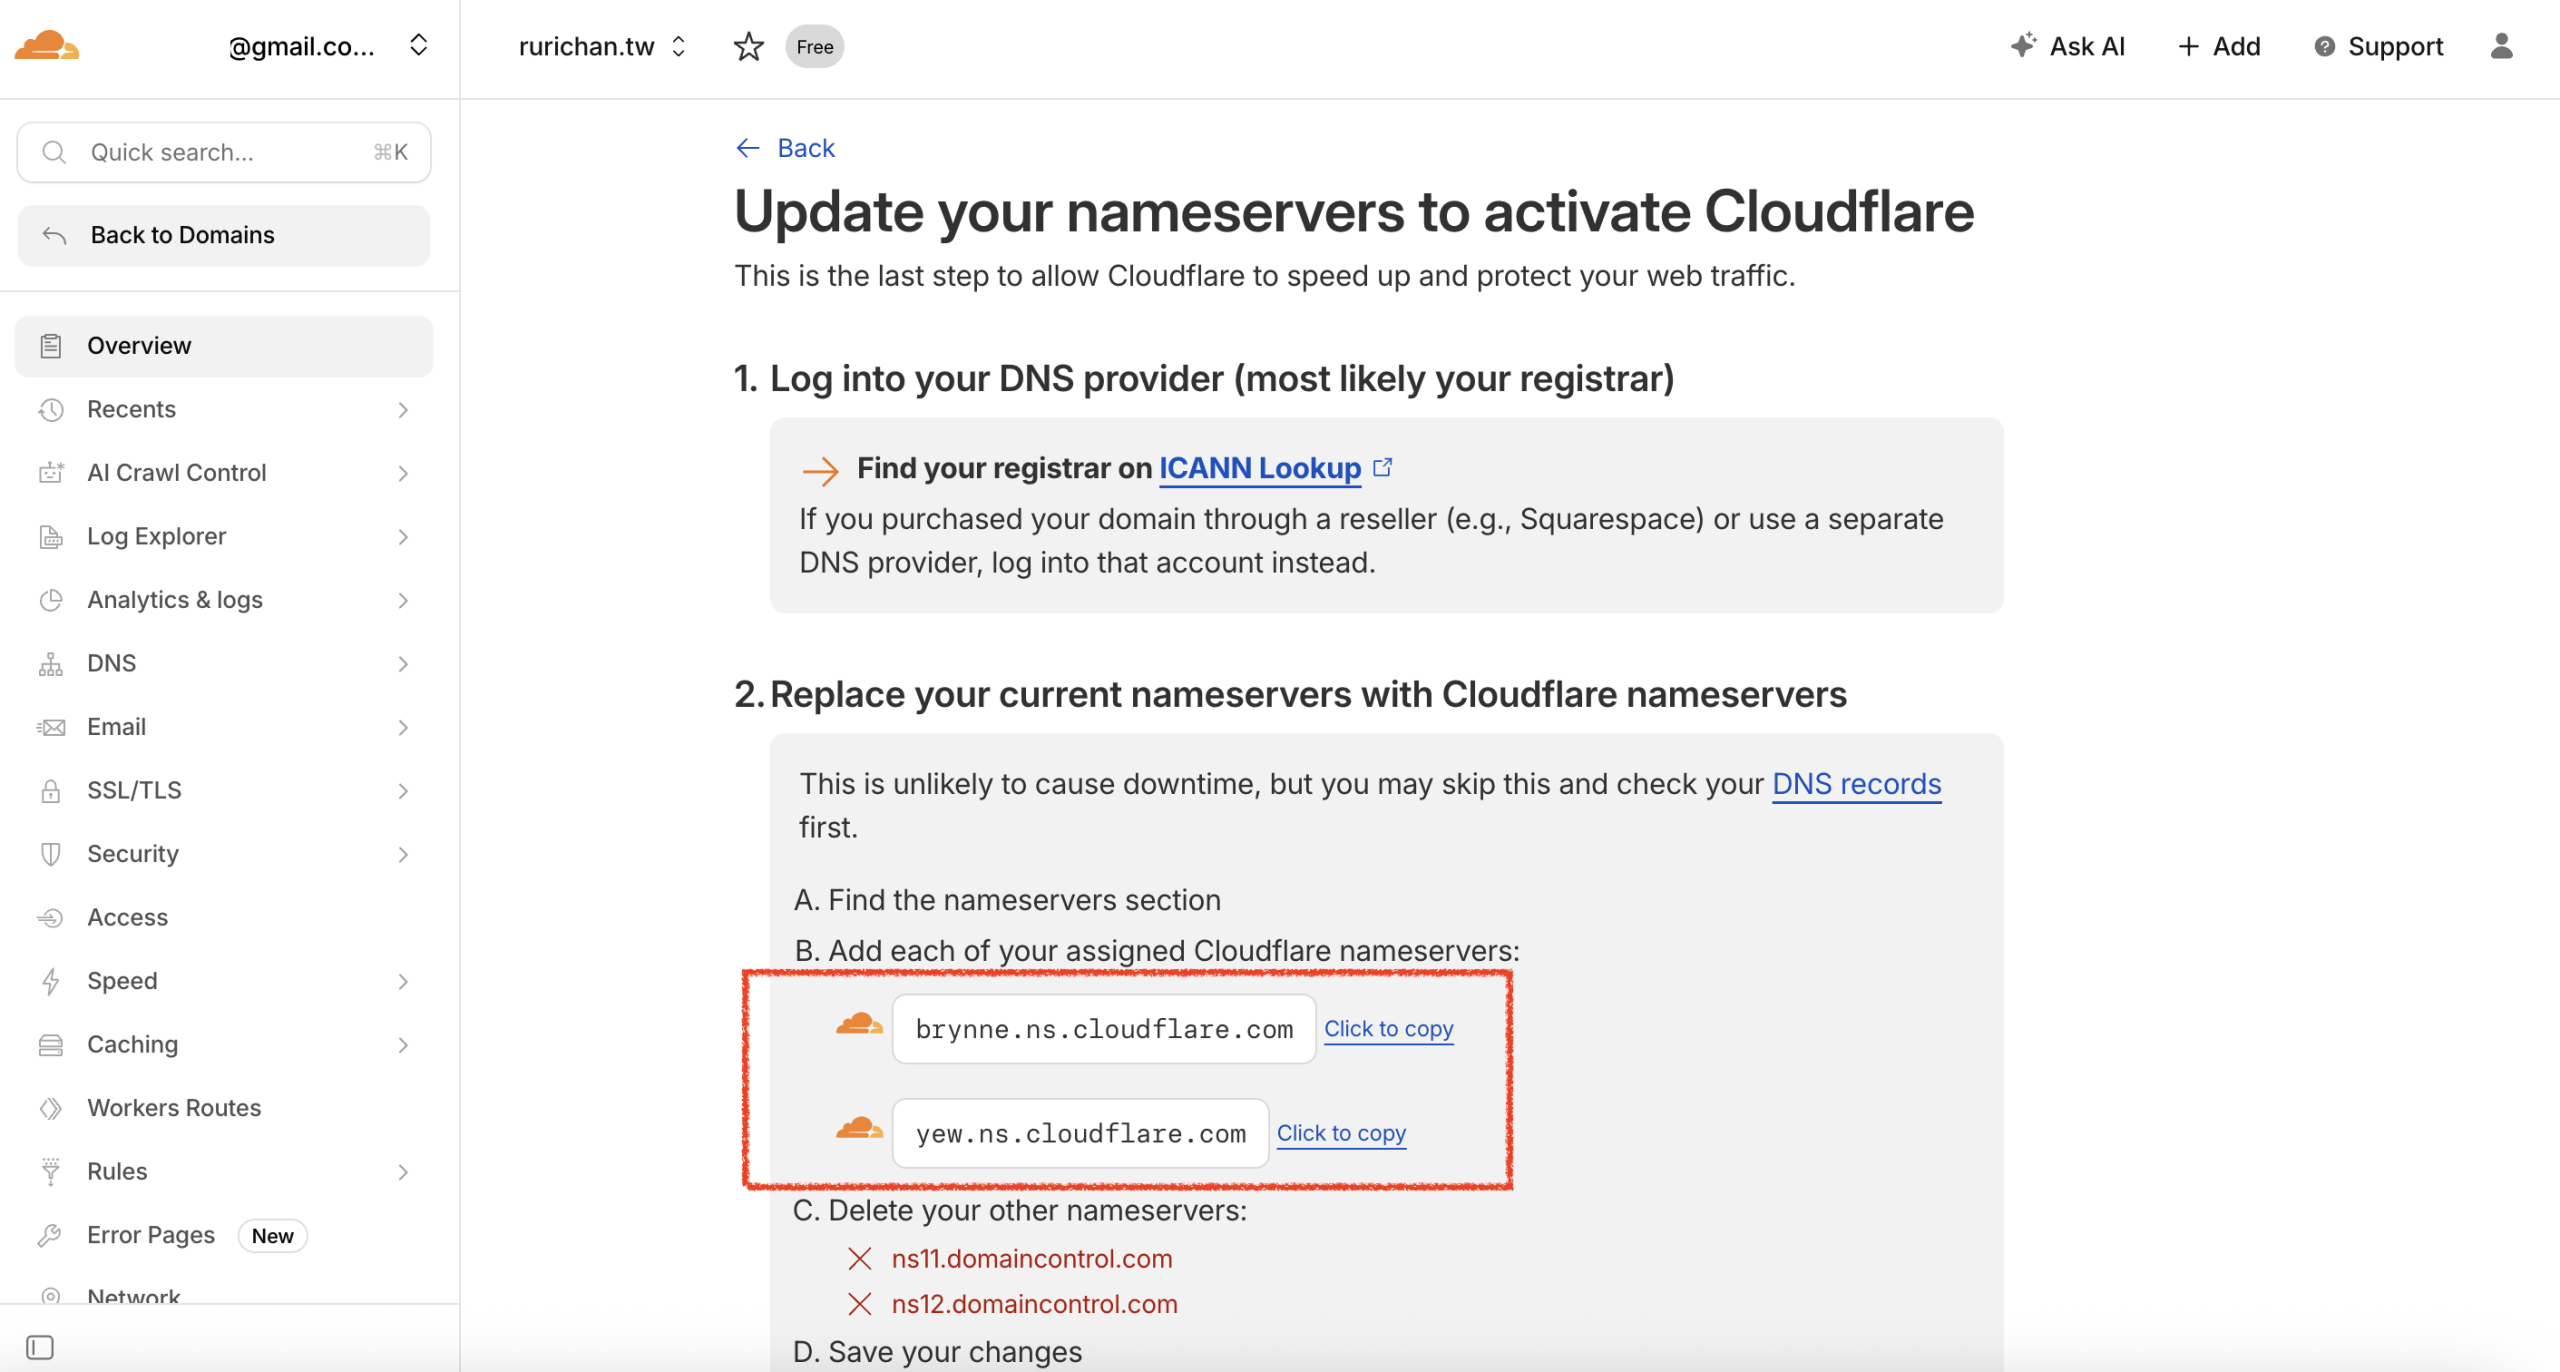
Step 2: Update Settings in lihi Dashboard
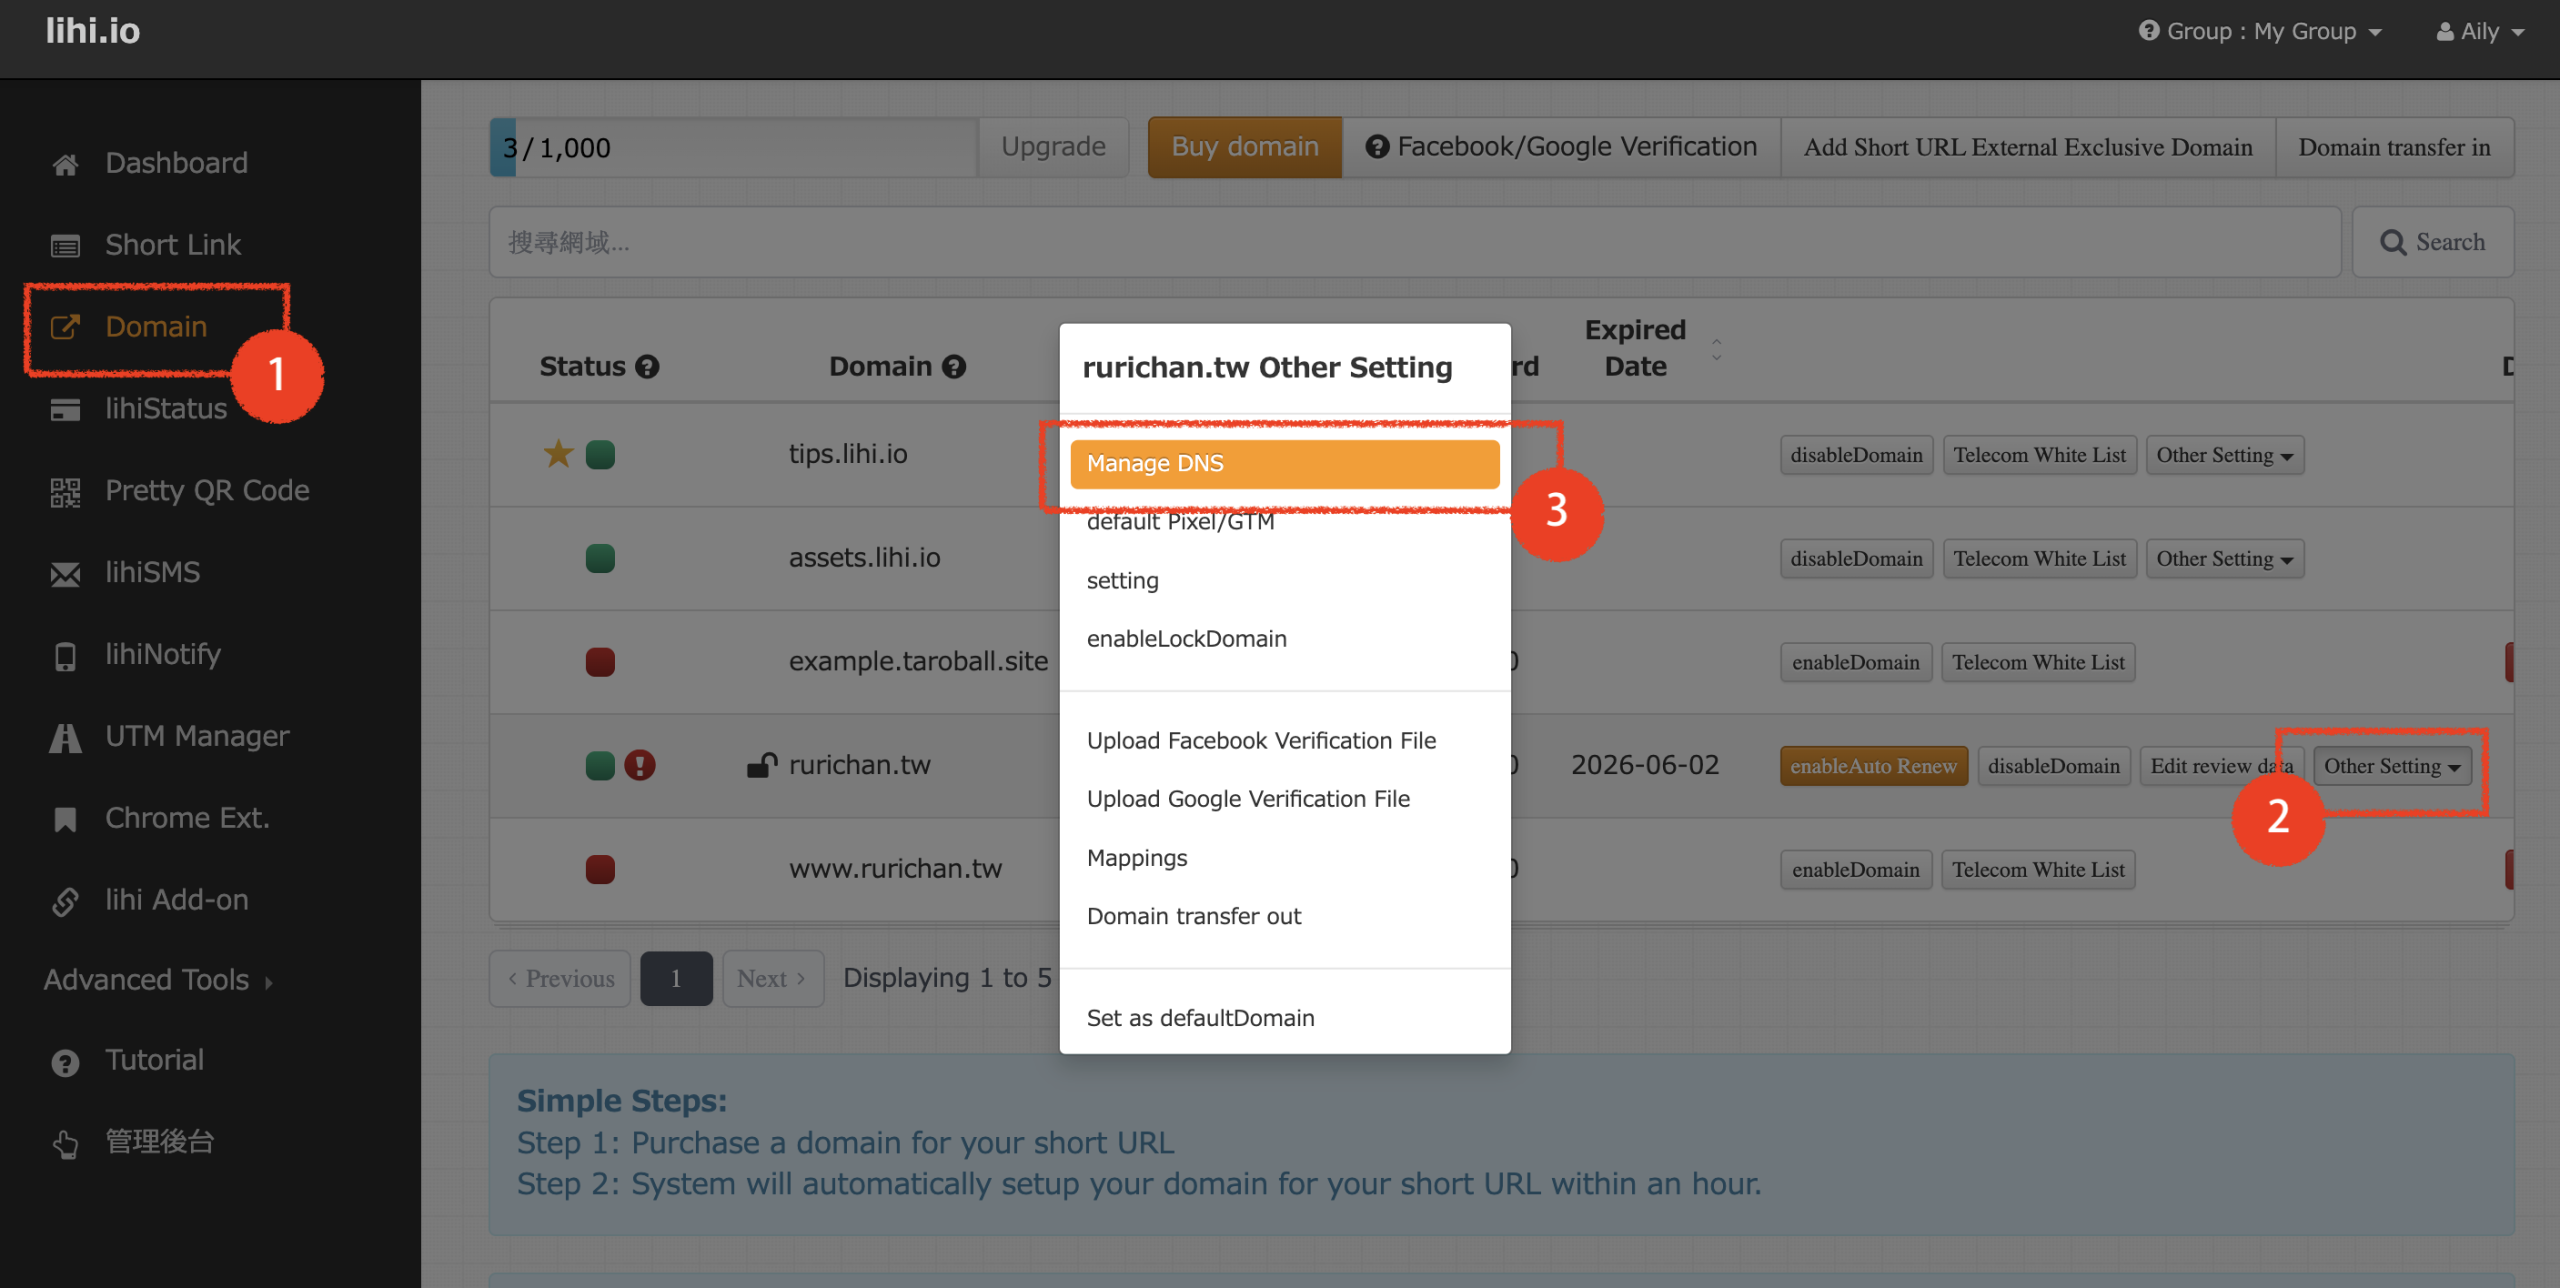
- Access Domain Settings: Go to your lihi dashboard. Click Domain in the left menu, find the domain you are configuring, and click Other Settings. Then, select Manage DNS.
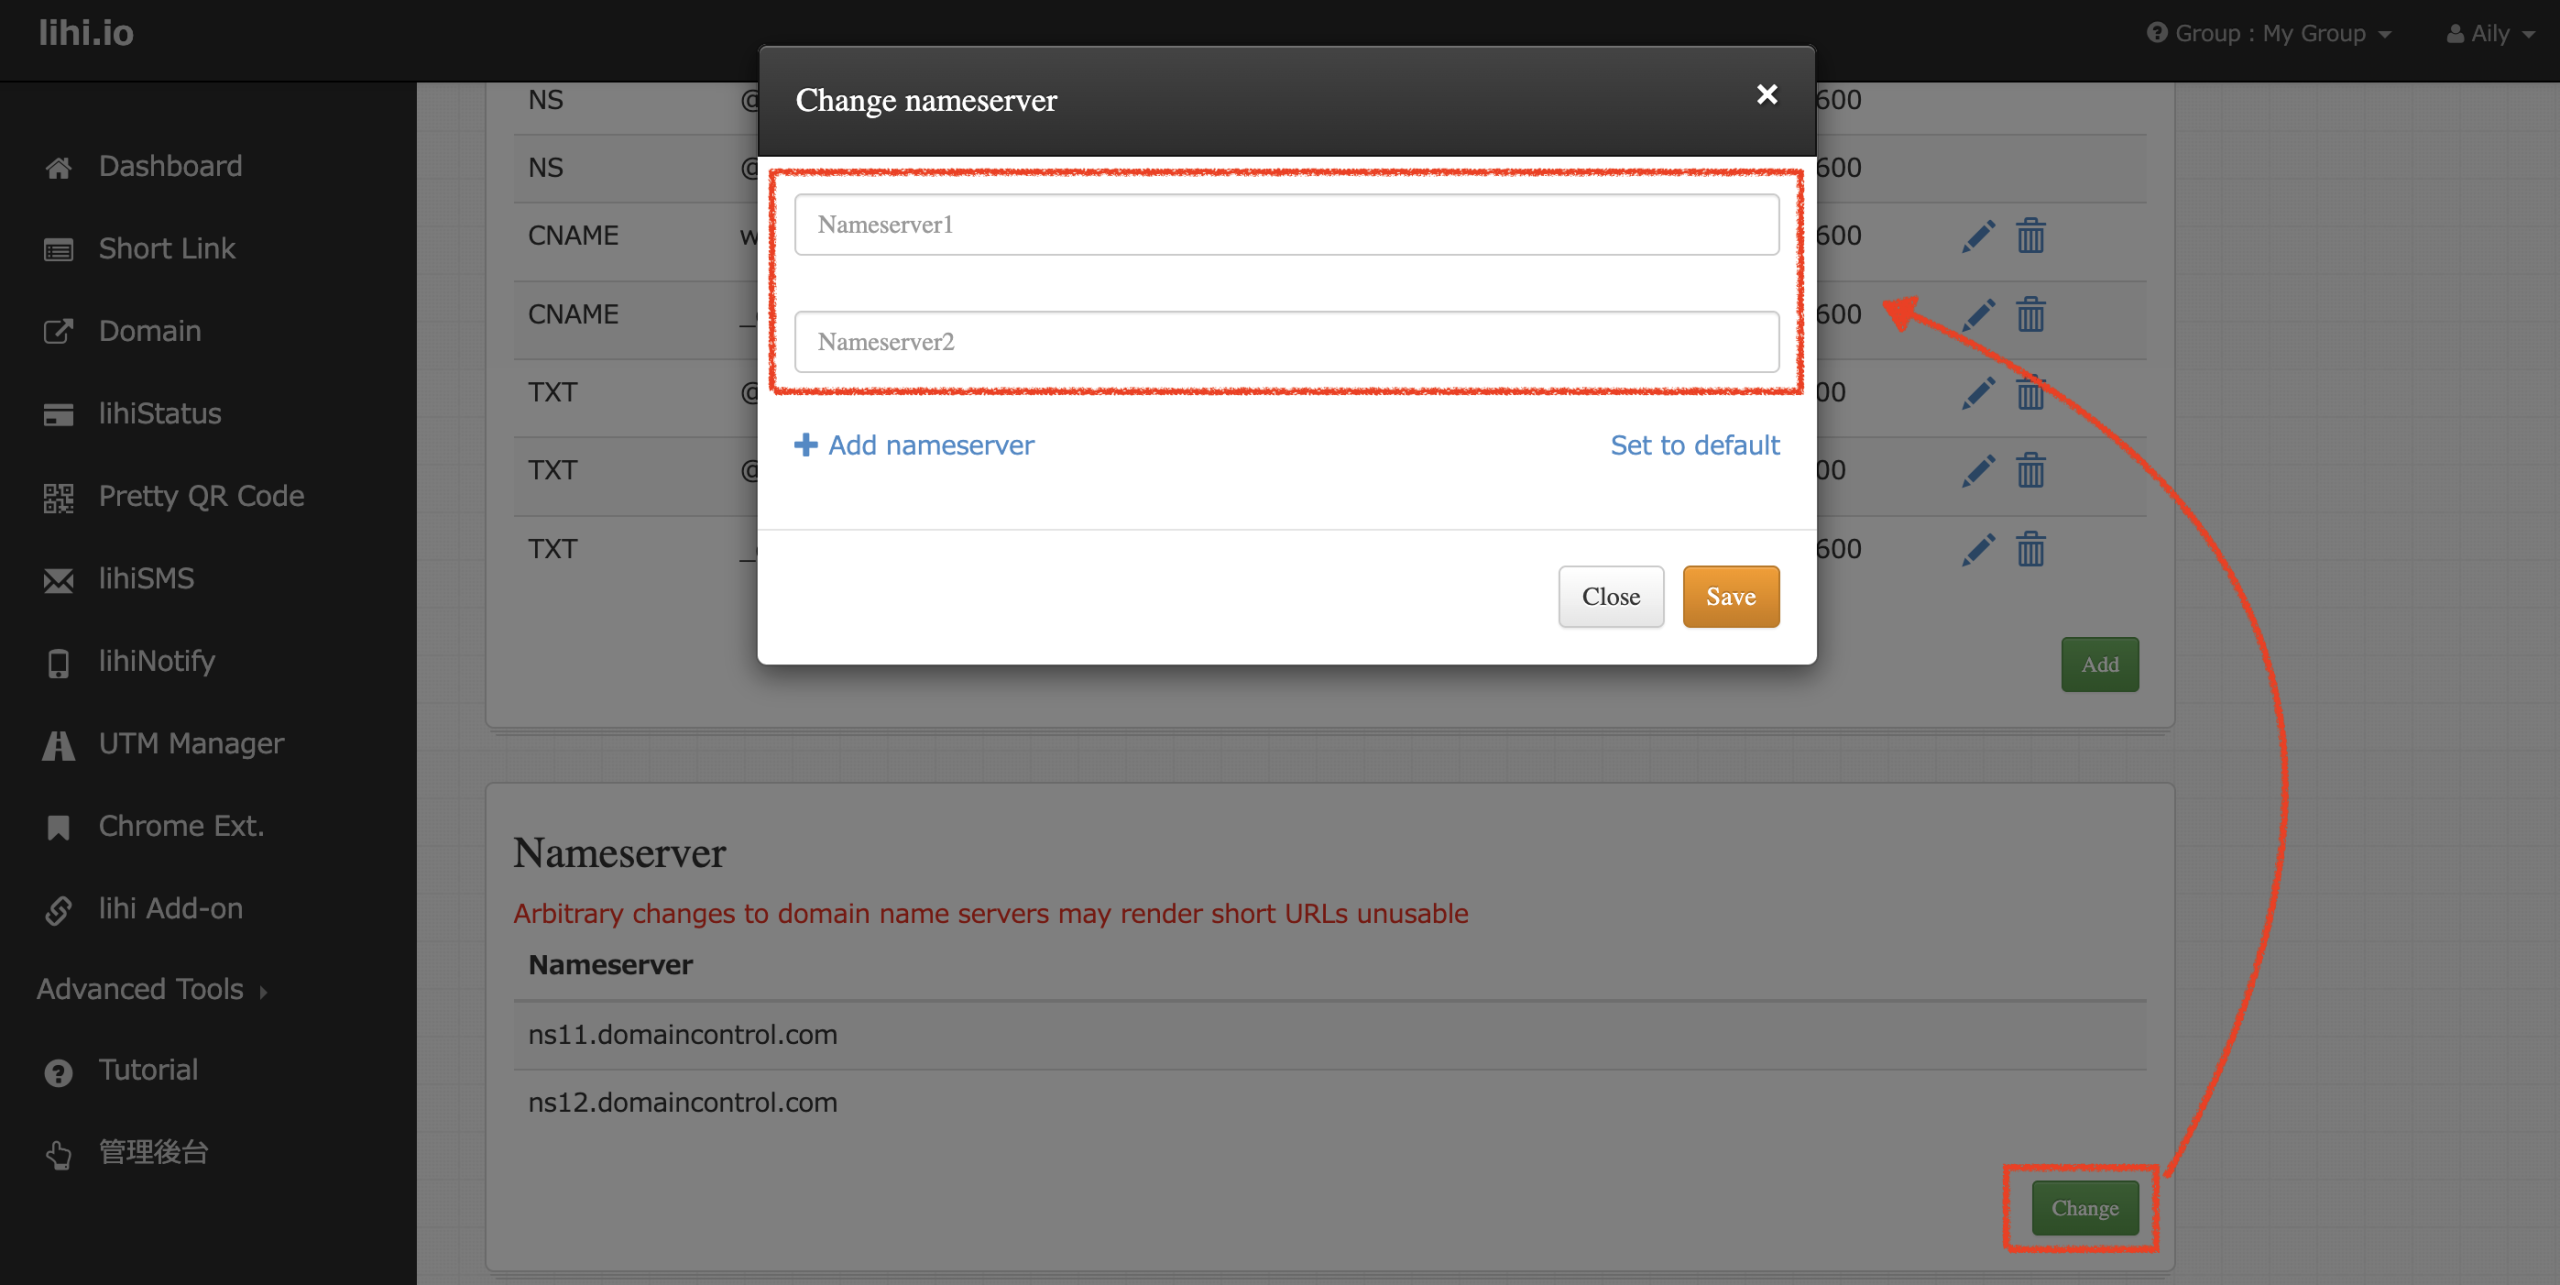
- Change Nameservers: Scroll down to the Nameserver section and click the Change button at the bottom right. Paste the two Nameservers you copied from Cloudflare in Step 1-7, then click Save.
Step 3: Verify Connection
- Final Check: Return to the Cloudflare dashboard and go to the Overview page. Once the status shows as Active, the setup is complete.
📚 Related Articles
- How to set up an A Record
- How to add and configure Subdomains
- What are the benefits of a Custom Domain? How to set it up?
Start using lihi for free ⇒ Click Here!